npx create-toolpad-app@latest --example tutorial- 若要在 http://localhost:3000 上啟動基本專案,請執行
cd <project-name>
npm install && npm run dev- 將出現以下啟動畫面
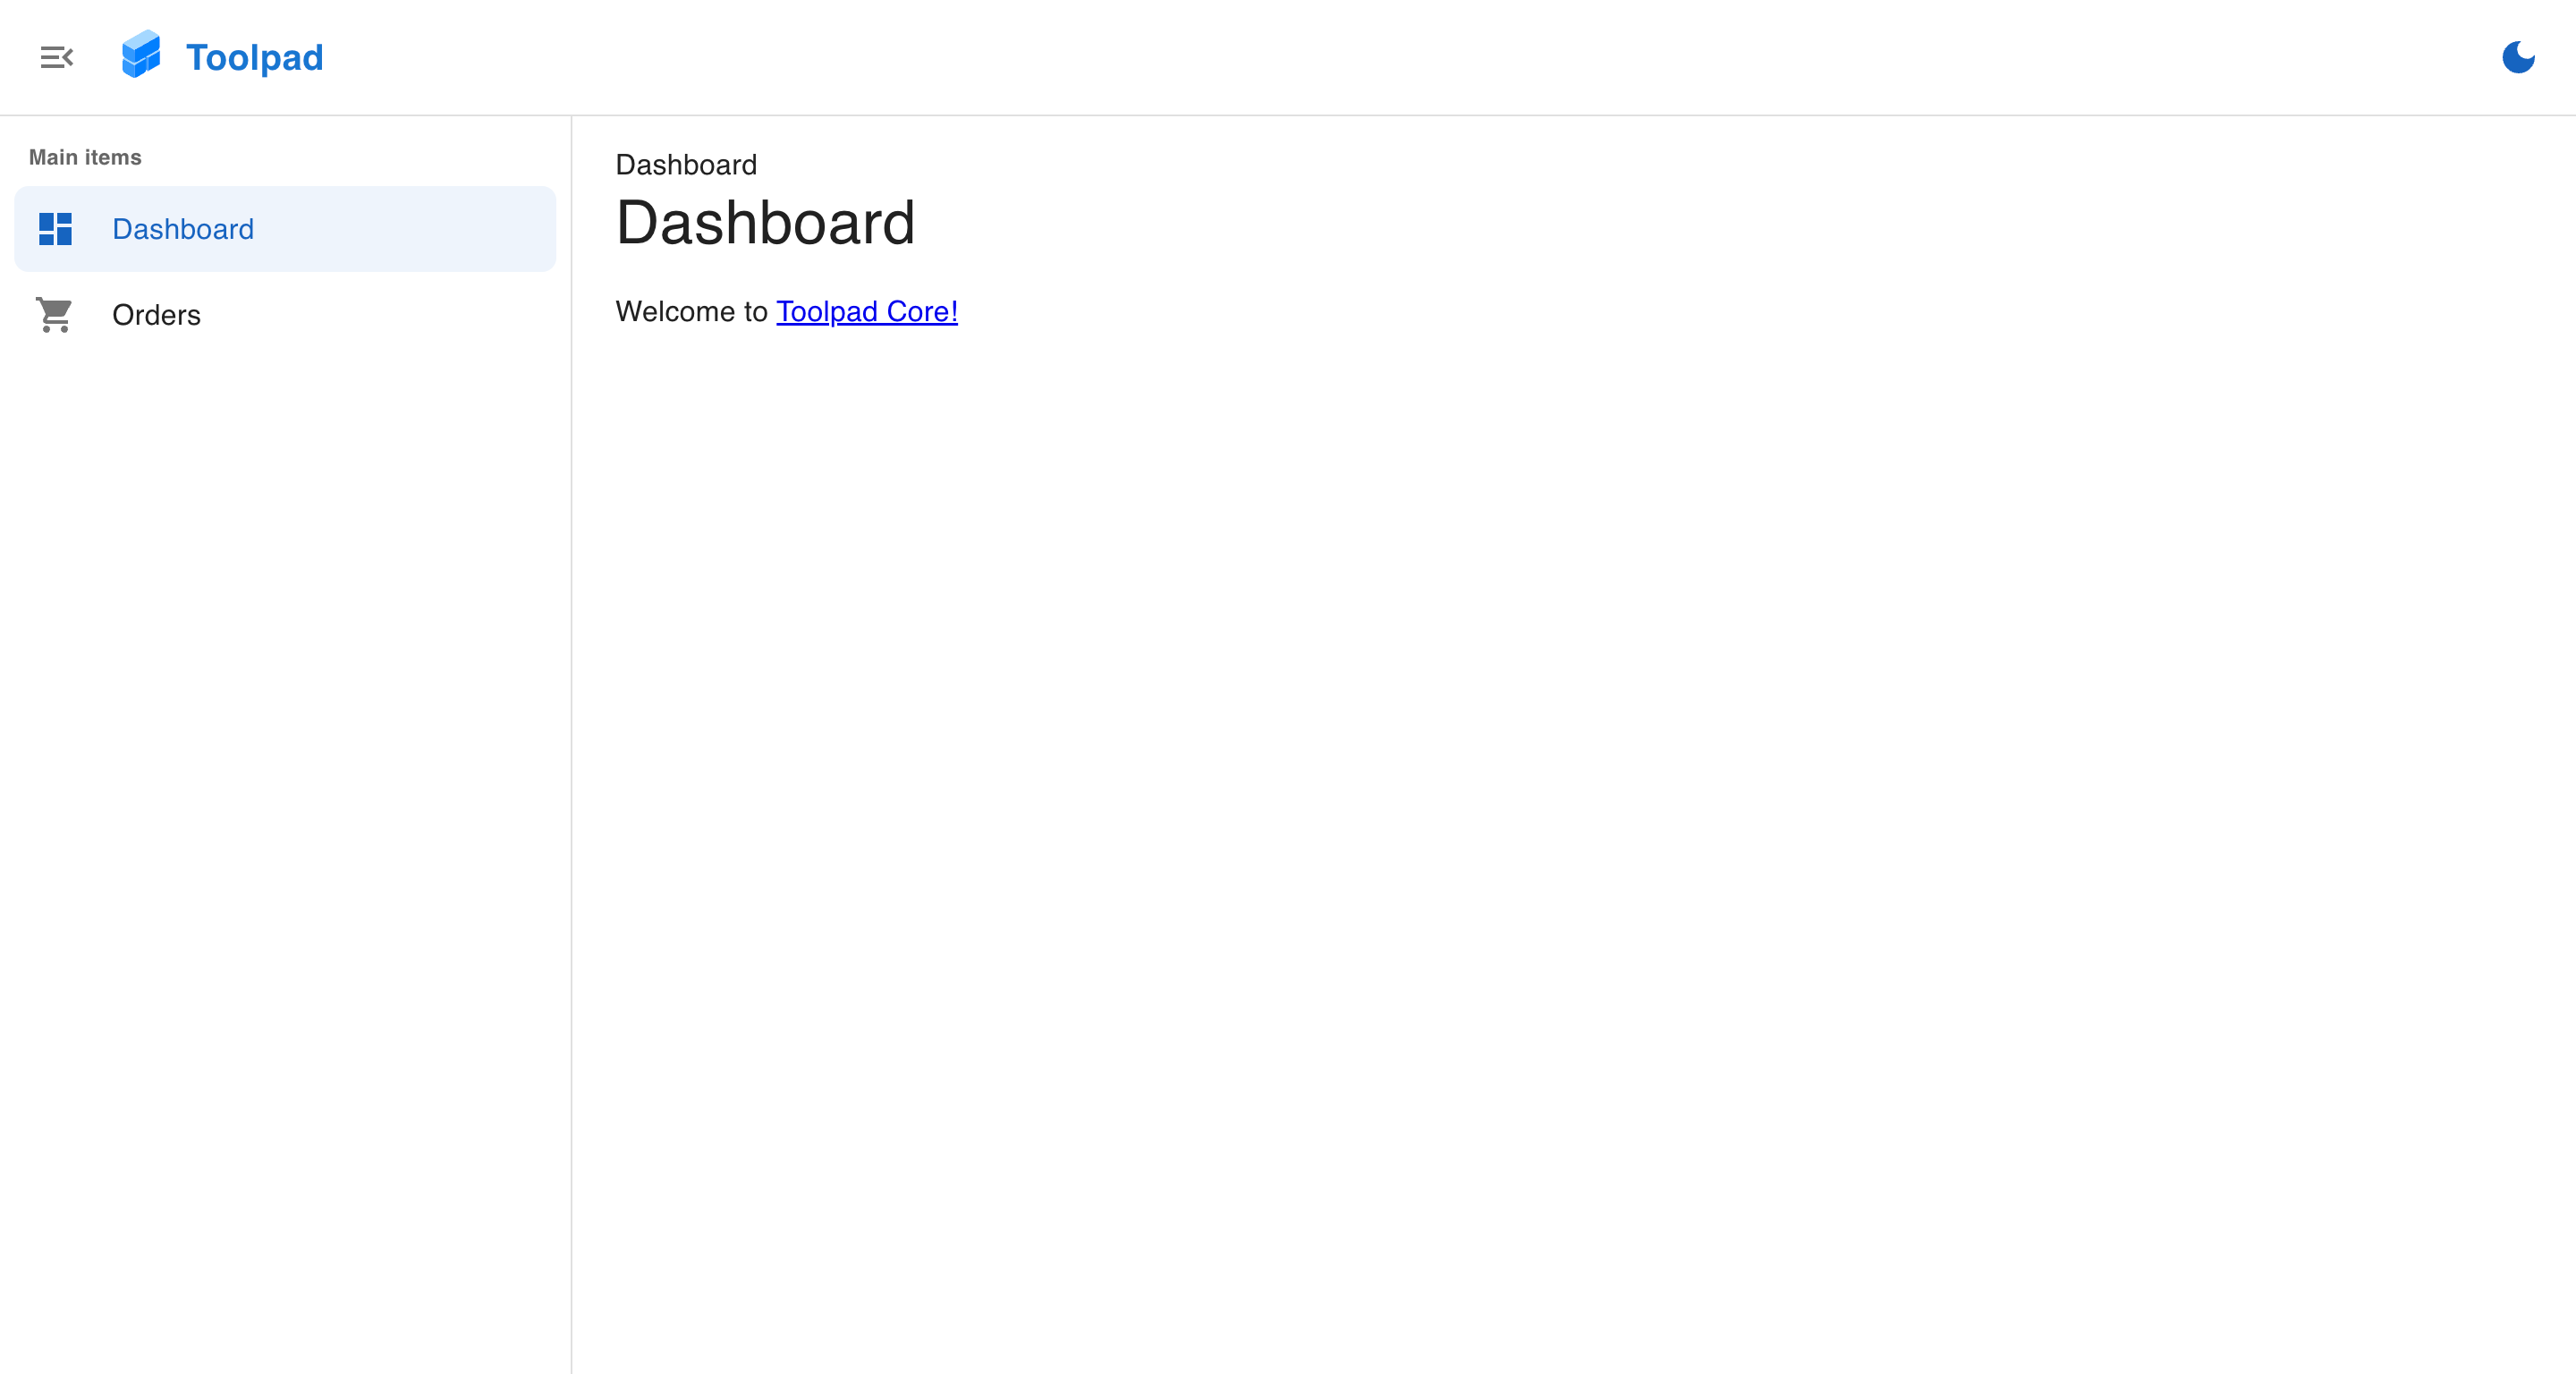
開始使用 Toolpad Core
- 此應用程式已在儀表板版面配置中建立兩個頁面,並已設定路由、麵包屑和主題
建立新頁面
- 若要新增頁面並使其顯示在側邊欄導覽中,請在
(dashboard)目錄中建立名為page-2的新資料夾,並將以下內容新增至其中的page.tsx
./(dashboard)/page-2/page.tsx
import Typography from '@mui/material/Typography';

export default function Home() {
  return (
    <Typography variant="h6" color="grey.800">
      This is page 2!
    </Typography>
  );
}
- 透過將以下程式碼新增至
app/layout.tsx中的導覽項目陣列,將新建立的頁面新增至側邊欄導覽
app/layout.tsx
// Add the following import:
import TimelineIcon from '@mui/icons-material/Timeline';

// ...

const NAVIGATION: Navigation = [
  // Add the following new item:
  {
    segment: 'page-2',
    title: 'Page 2',
    icon: <TimelineIcon />,
  },
];
現在可以從側邊欄導覽至新建立的頁面,如下所示